Manual Configuration
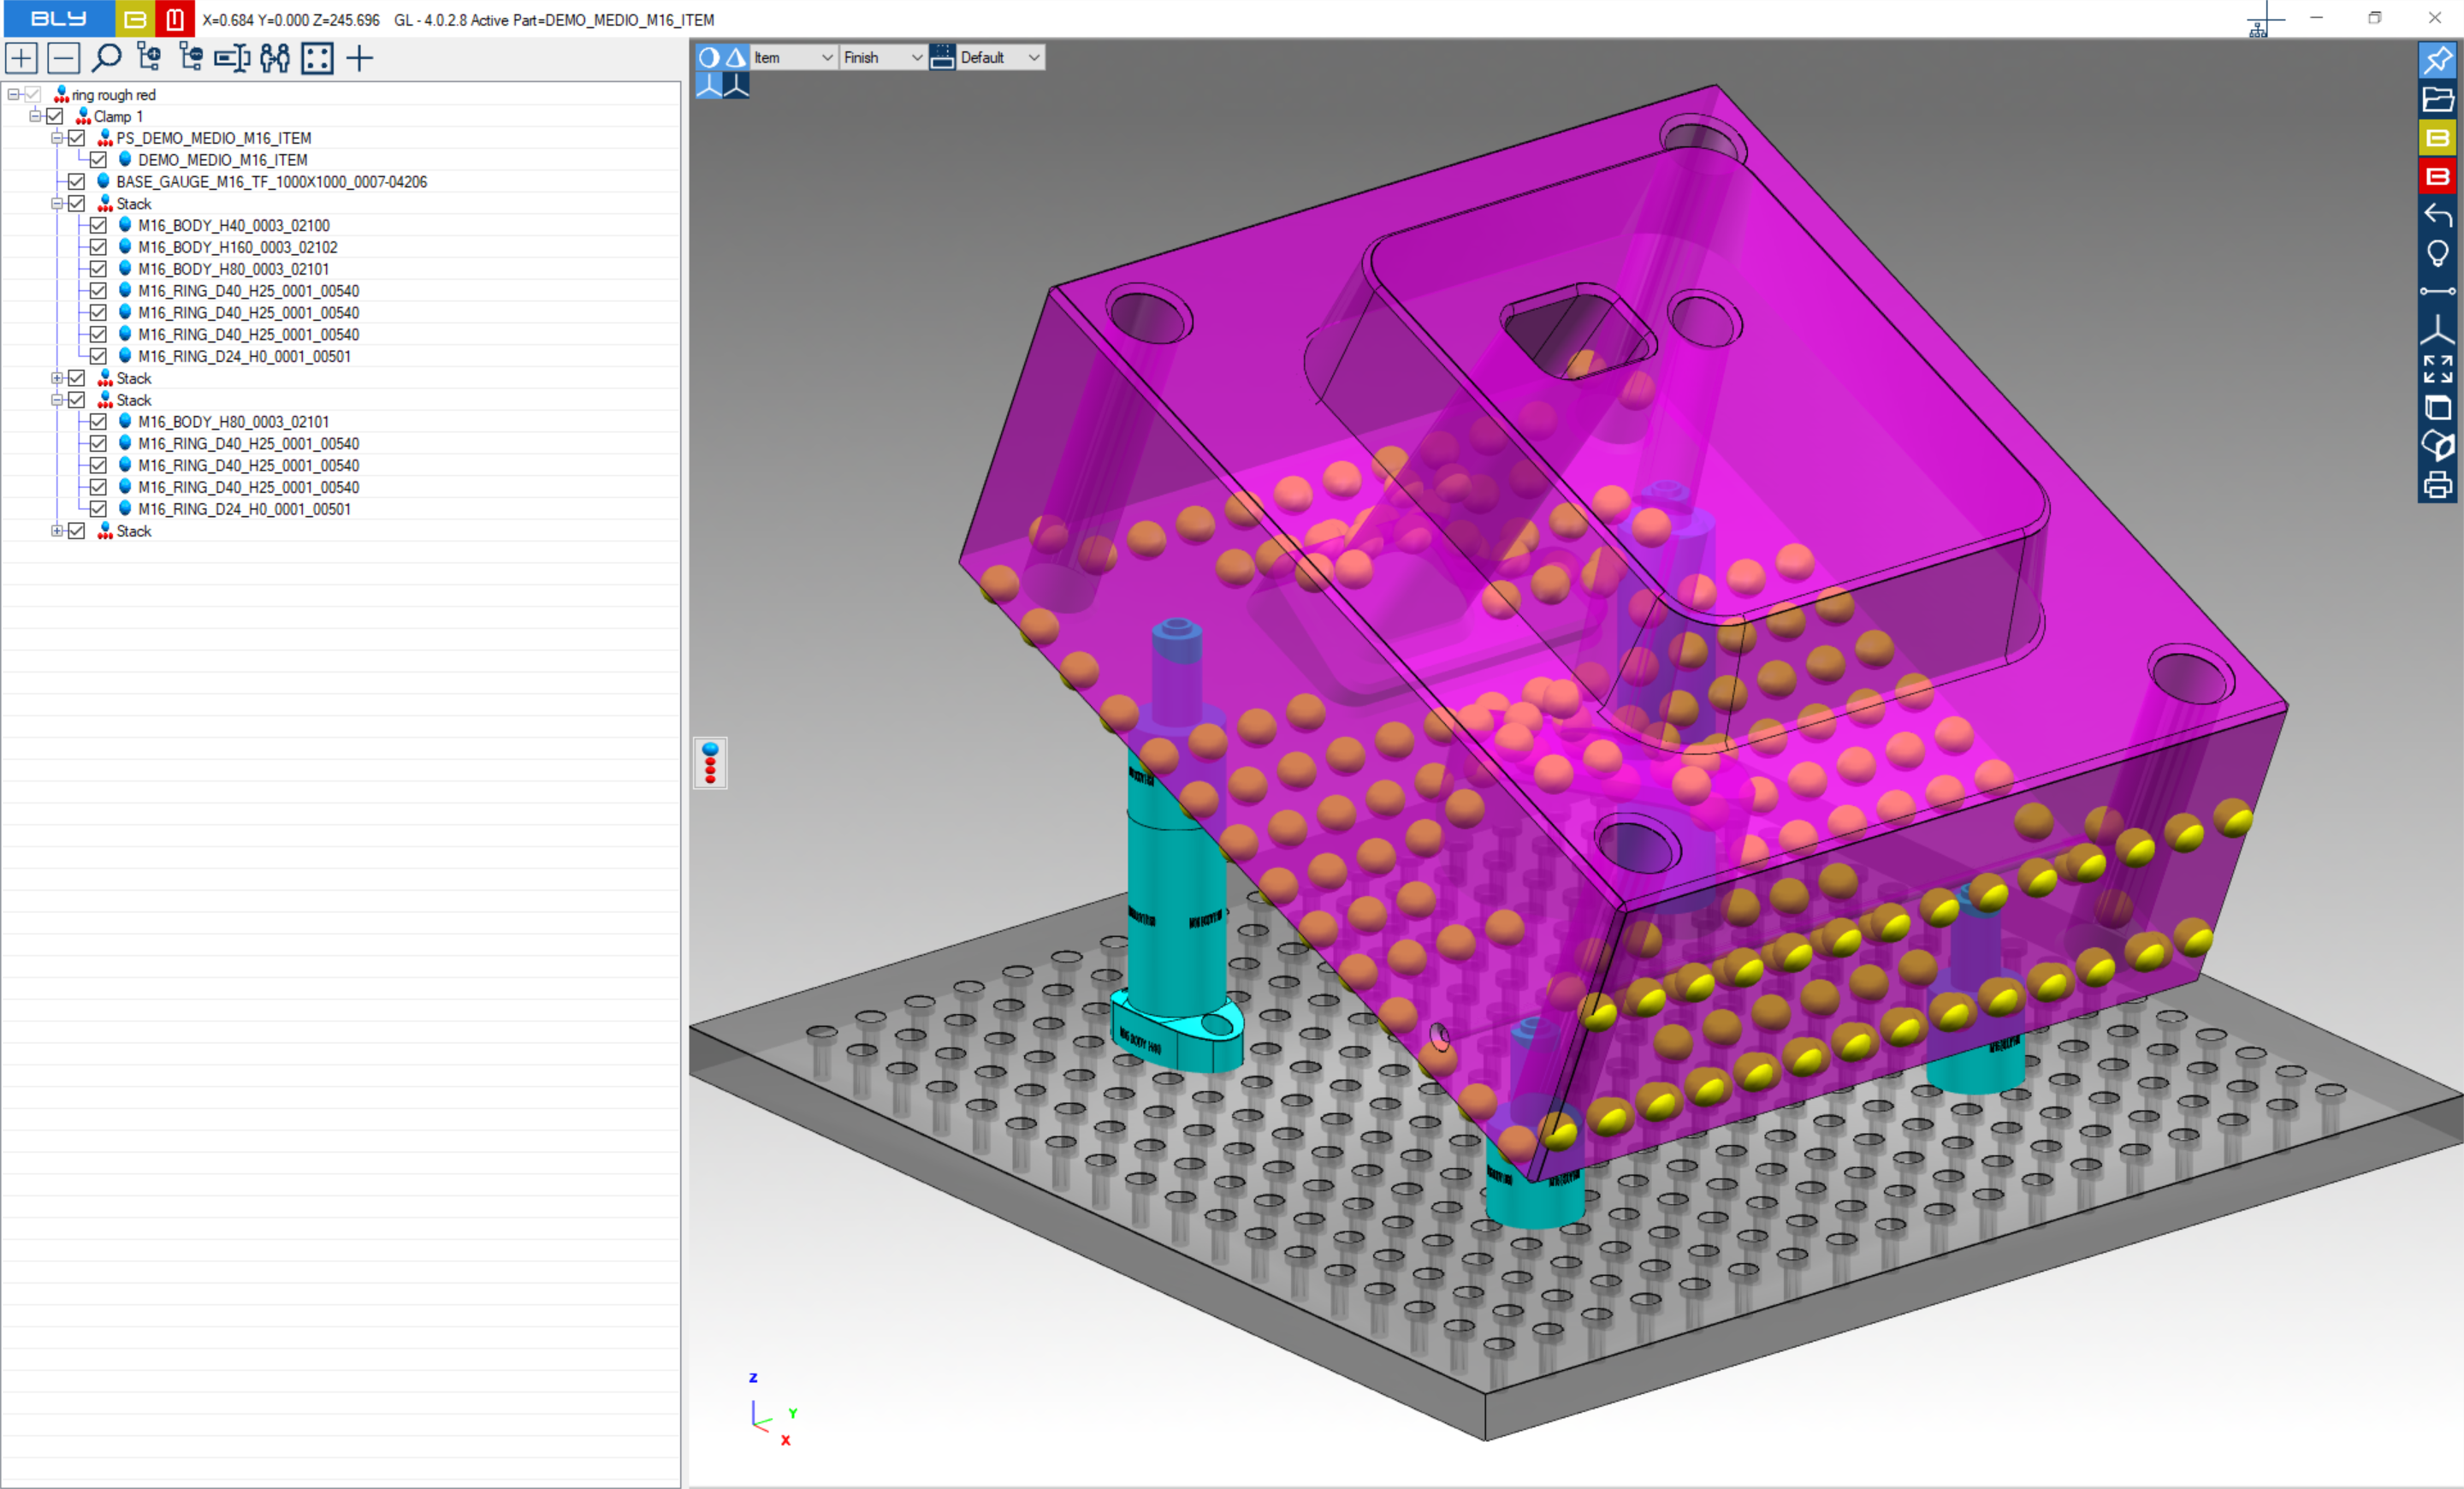
As explained before, Guideline calculates the stacks basing on the distance from the table of the selected points and some pre-set rules.
However, there might be specific occurrences when the solution proposed is not the desired configuration.
Should the combination(s) be not the one desired, it is possible to manually change it.
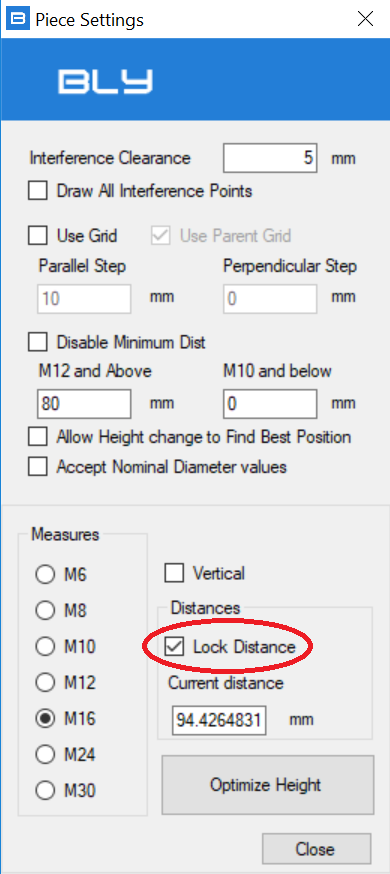
Considering the logic how Guideline is designed, the job's position defined is an input to the software, so most of the times you do not want it modified by manually configuring the stacks: to prevent that, you should lock the position activating "Lock Distance" into Piece Setting window (see Piece Settings)
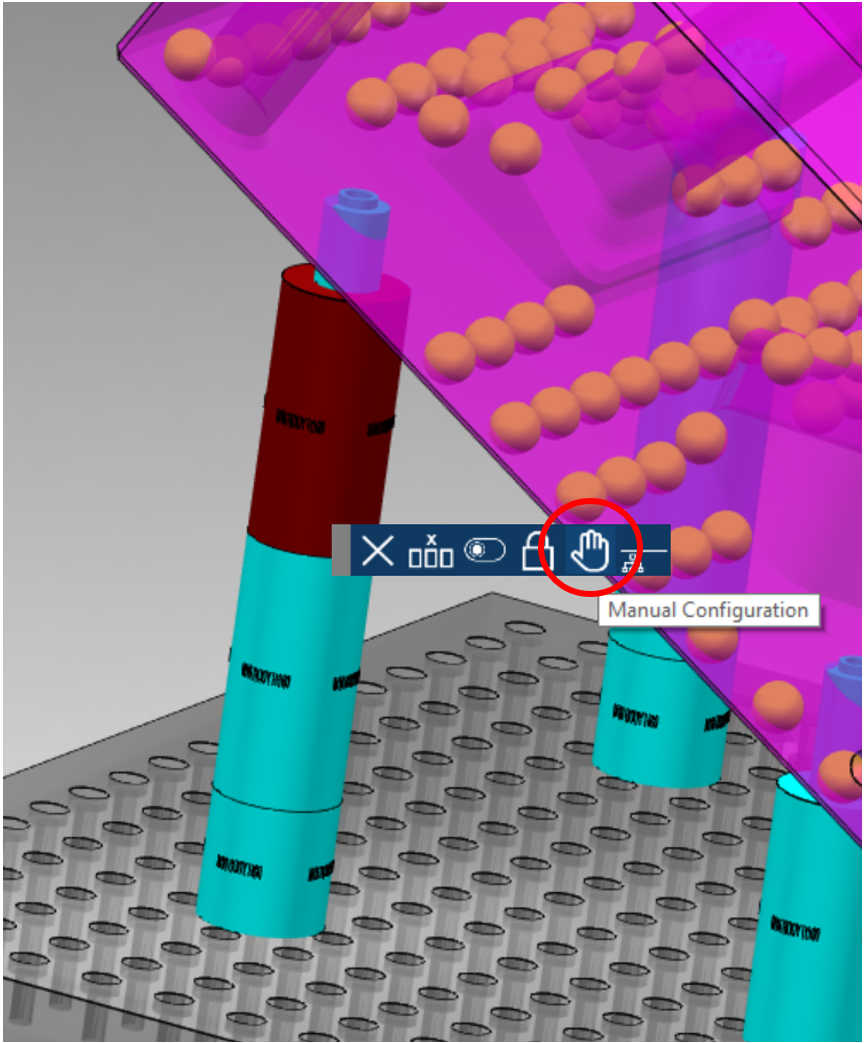
To then enter in Manual Configuration, click on one stack and choose Manual Configuration icon from the contextual toolbar
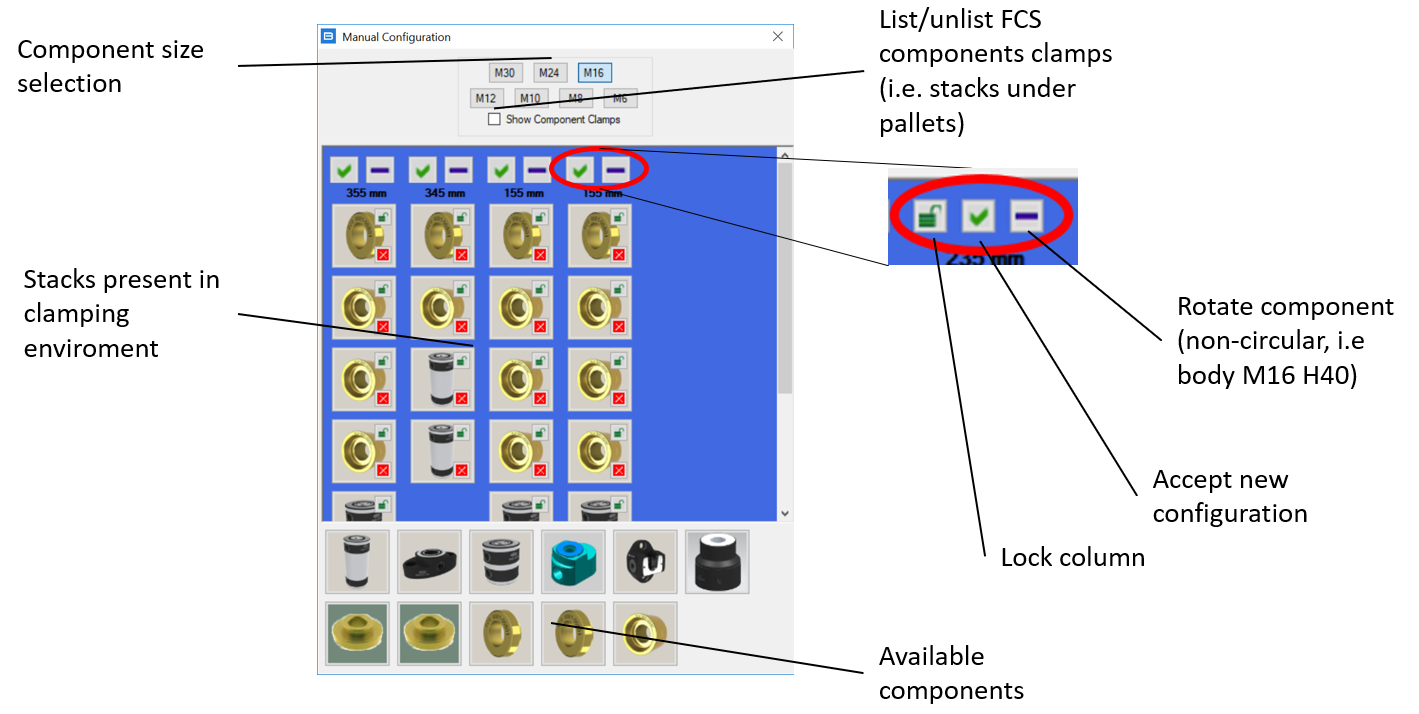
In this window, you can manually define the configuration of each stack by dragging-and-dropping the components from the ones available into the library.
In order to prevent impossible combinations, the software calculates the resulting height and checks the compatibility of the selected components and of the mutual heights between the stacks.
You can navigate the library by clicking the buttons in the Dimension selection area: Guideline will display the elements available in your library only (see also chap. Library customisation).
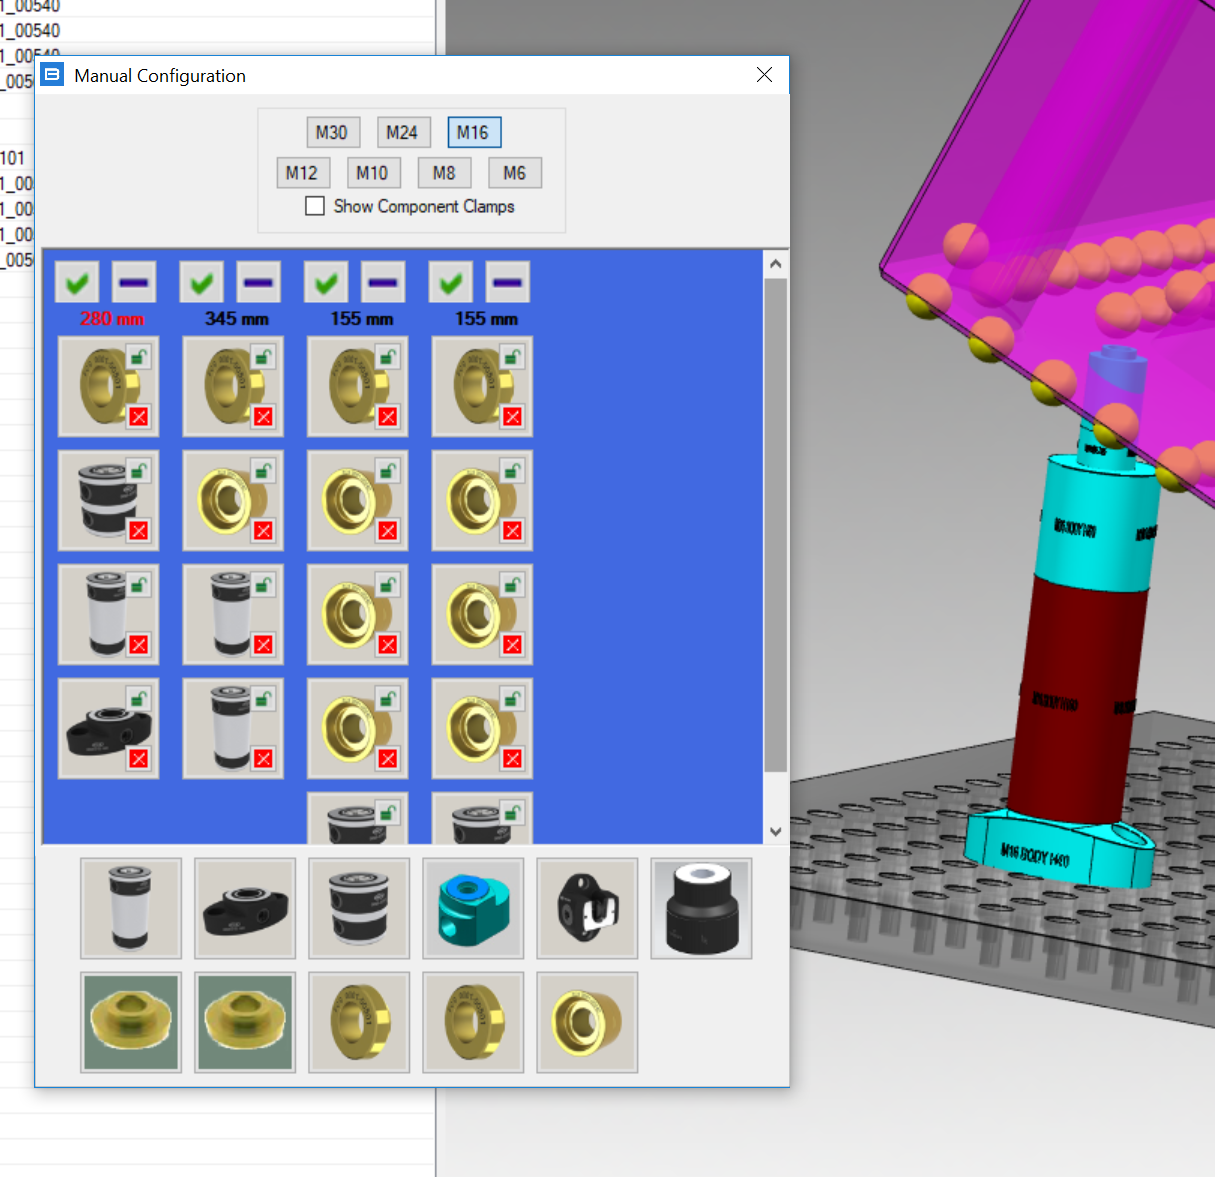
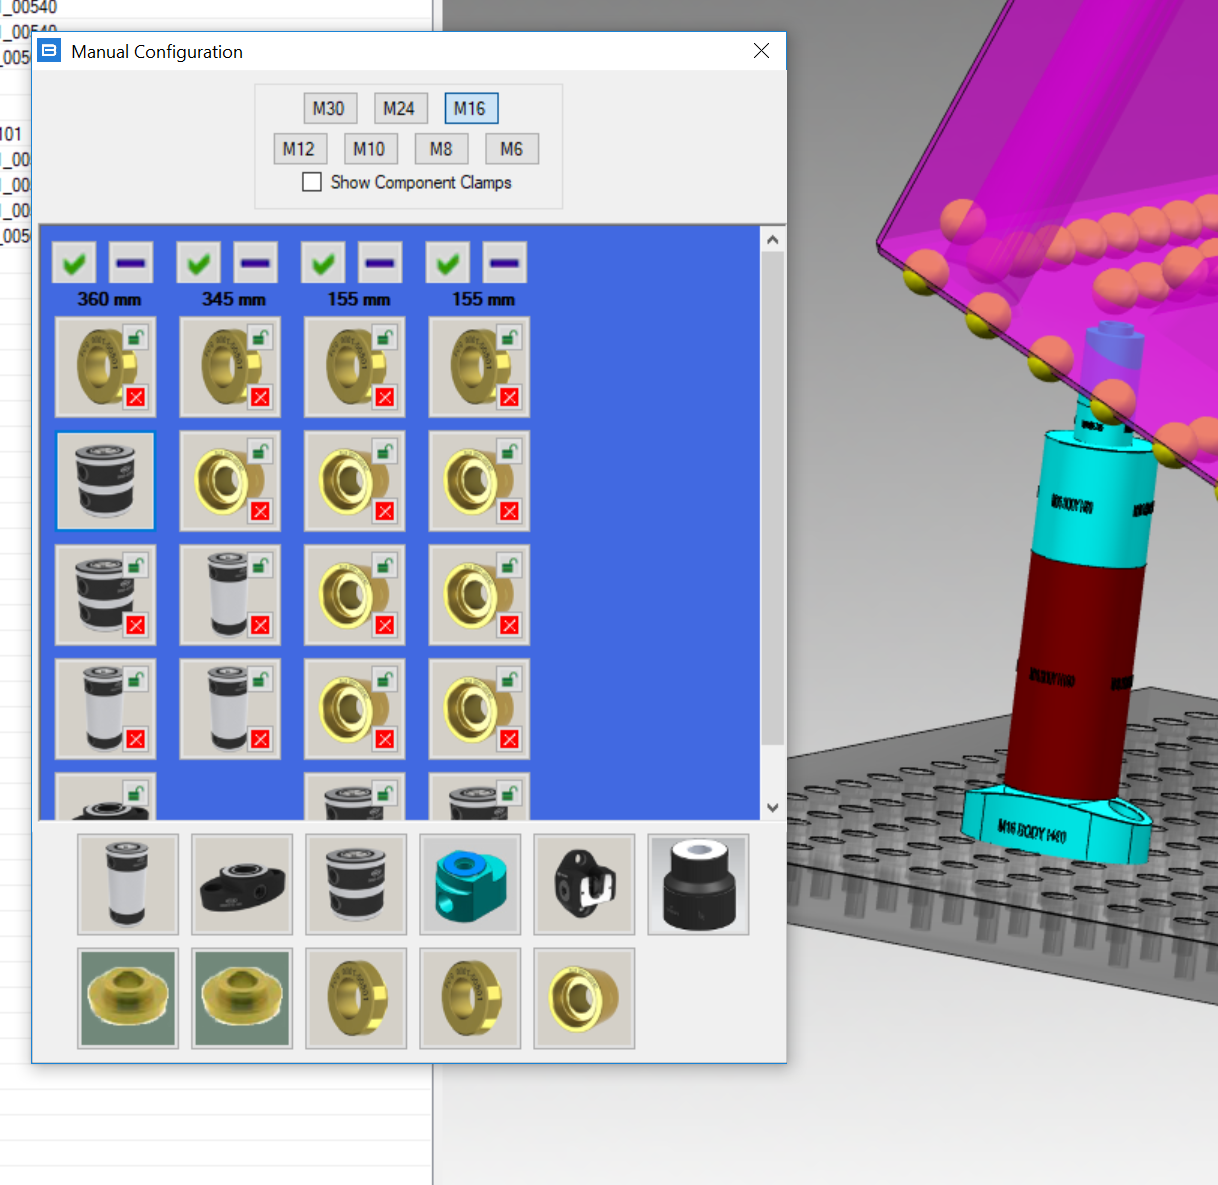
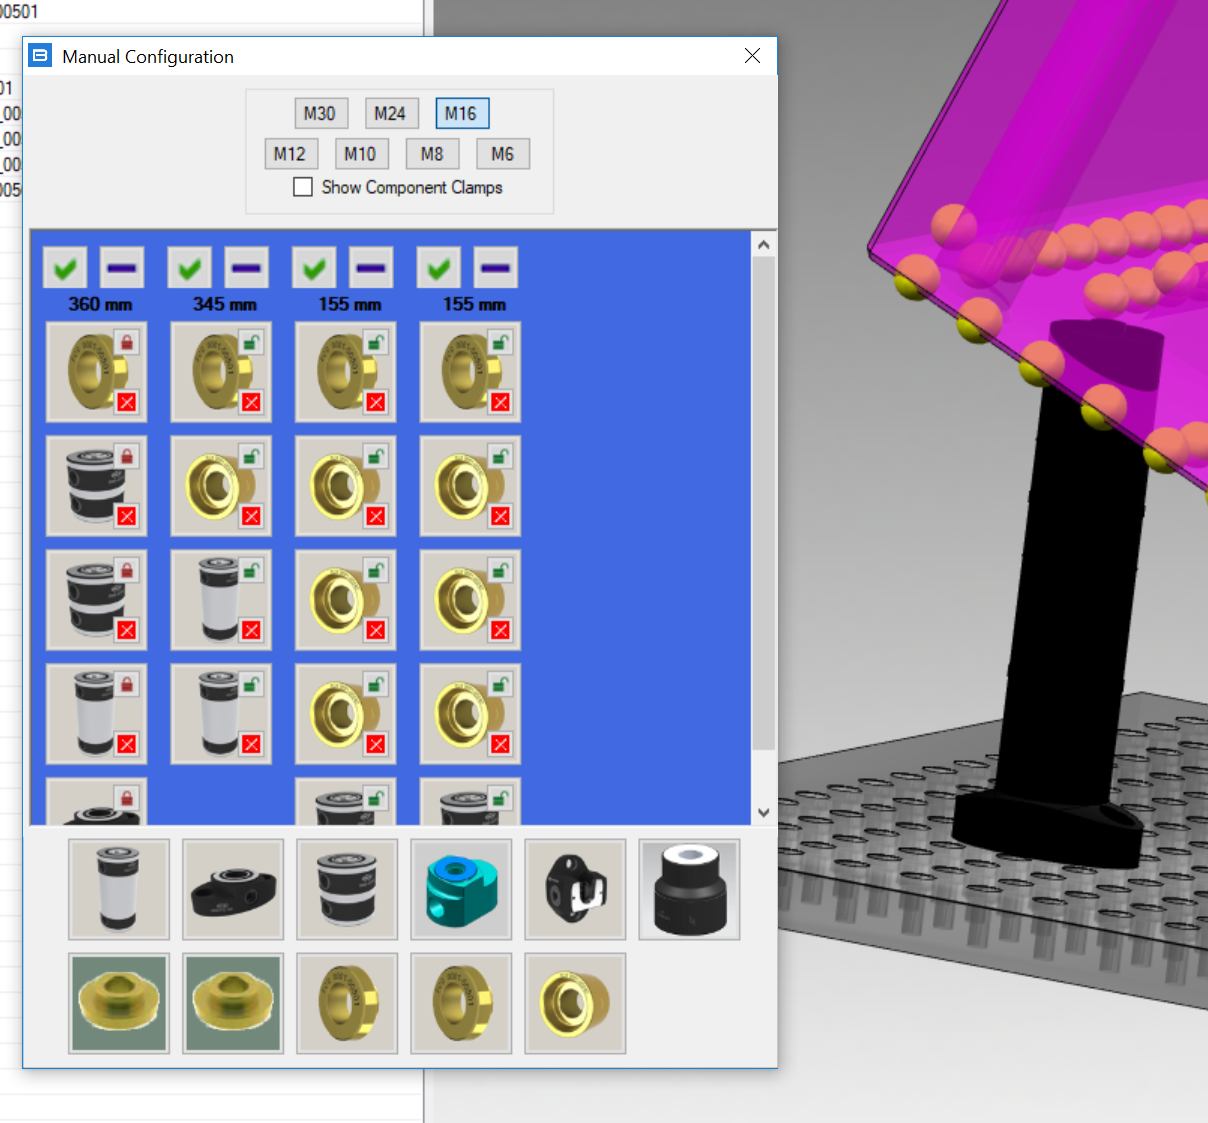
The manual column will be locked by default (to prevent Guideline to recalculate it in case of workpiece repositioning) and colored in black. It can be unlocked anytime in full or partially pressing on the small lock icons: if unlocked, the column will be recalculated automatically when the job will be repositioned.
It's also possible to orient the column 90 degrees (useful for long bodies with 2 holding screws like M16 H40).
See also this video
